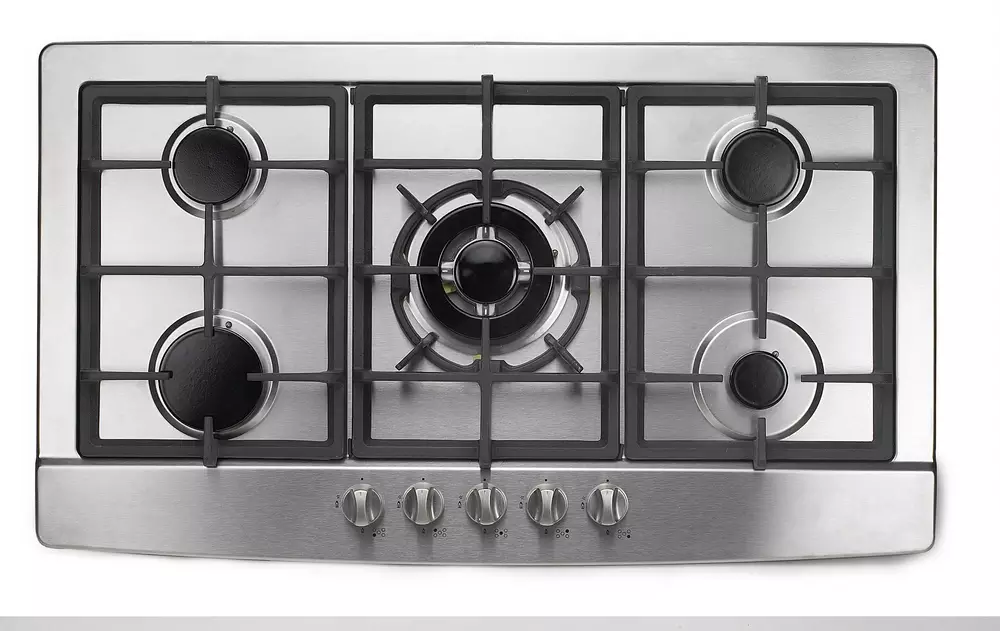
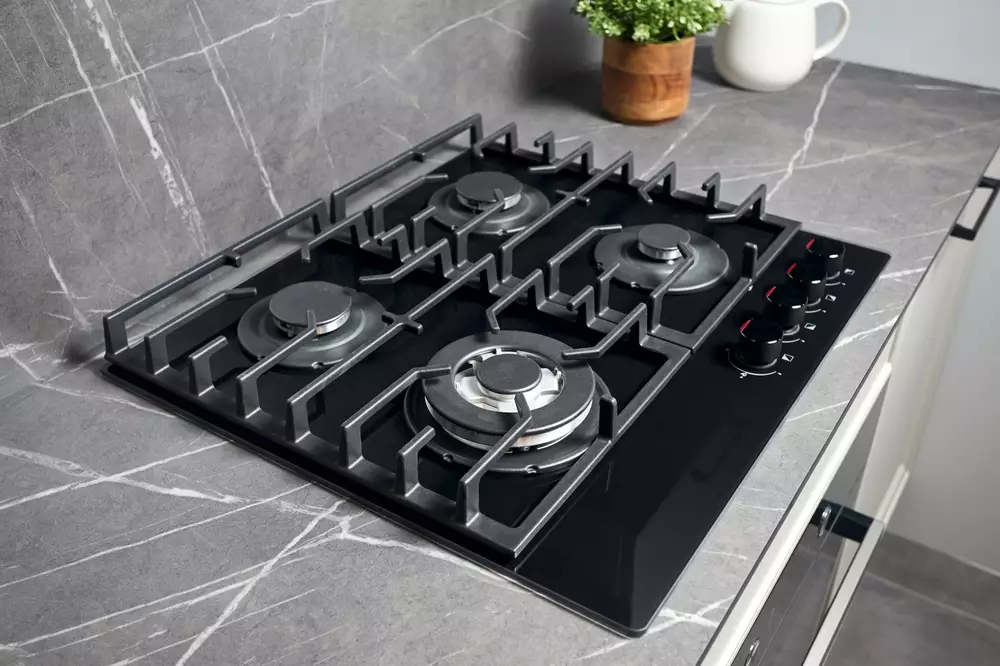
Keeping your gas stove top burner clean not only enhances the aesthetic appeal of your kitchen but also ensures optimal performance and longevity of your appliance. With regular use, food spills, grease, and grime can accumulate on the burner, affecting its efficiency and potentially causing unpleasant odors. Fortunately, cleaning your gas stove top burner is a straightforward process that can be accomplished with a few simple steps and readily available household items.
By dedicating a little time and effort, you can maintain a sparkling clean burner that will continue to serve you well during your culinary endeavors. So let’s dive right in!

How to Clean Electric Stove Top Burners
Cleaning electric stove top burners is a relatively simple process. Here’s a step-by-step guide to help you clean your electric stove top burners effectively:
Materials You’ll Need
Here are the supplies you’ll need:
- Warm soapy water: Prepare a mixture of mild dish soap and warm water in a bowl or sink. This will be used as a cleaning solution for various burner components.
- Sponge or soft cloth: Choose a non-abrasive sponge or soft cloth to scrub away grime and stains from the burner and other surfaces.
- Toothbrush or small brush: A toothbrush or small brush will help you reach tight spaces and clean the burner holes thoroughly.
- Baking soda: Baking soda is a versatile and effective natural cleaner that can tackle stubborn stains and grease on the burner.
- Vinegar: White vinegar is a powerful cleaning agent that can dissolve tough buildup on the burner and leave it sparkling clean.
- Paper towels or clean cloth: These will be used to wipe down surfaces and dry off the burner and other components after cleaning.
- Safety gloves: It’s always a good idea to protect your hands with rubber or cleaning gloves while handling cleaning solutions and scrubbing.
By gathering these supplies beforehand, you’ll be well-prepared to tackle the task of cleaning your gas stove top burner efficiently and effectively.
Removing Grates and Burner Caps
To clean your gas stove top burner thoroughly, you’ll need to remove the grates and burner caps. This step allows you to access these components individually, making cleaning easier and more effective. Follow these instructions to remove the grates and burner caps:
- Ensure the burner is cool: Before handling any components, make sure the burner has cooled down completely to avoid the risk of burns.
- Lift off the grates: Gently lift the grates from the stove surface. These are typically placed above the burner caps and may be heavy, so use caution when removing them. Set the grates aside in a safe area.
- Remove the burner caps: Locate the burner caps, which are usually positioned directly on top of the burner heads. Depending on the model of your stove, the caps may be secured in place or lifted off. If there are any clips or screws holding them in place, carefully detach or loosen them. Once loose, lift the burner caps off the burner heads.
- Inspect for any blockages: Take a moment to inspect the grates and burner caps for any visible debris, such as food particles or grease. Wipe away any loose dirt using a damp cloth or sponge.
Cleaning the Grates and Burner Caps
Cleaning the grates and burner caps is an essential part of maintaining a clean gas stove top burner. Here’s how to effectively clean the grates and burner caps:
- Soak in warm, soapy water: Fill a sink or basin with warm water and add a few drops of mild dish soap. Submerge the grates and burner caps in the soapy water and let them soak for about 15-20 minutes. This will help loosen the built-up grime.
- Scrub with a sponge or brush: After soaking, use a sponge or non-abrasive brush to scrub the grates and burner caps. Focus on removing any remaining grease or residue. For tough stains or baked-on food, sprinkle some baking soda on the sponge or brush and scrub gently.
- Rinse thoroughly: Once scrubbed, rinse the grates and burner caps under running water to remove any soap residue or loosened dirt. Ensure that all cleaning agents are completely rinsed off.
- Dry completely: Use a clean towel or let the grates and burner caps air dry completely before reassembling them on the stove. This will prevent moisture buildup and potential rusting.
- For stubborn stains or grease: If you encounter stubborn stains or grease that are difficult to remove, you can try an alternative cleaning method. One effective approach is to create a paste by mixing baking soda with a small amount of water. Apply the paste to the stained areas, let it sit for a few minutes, then scrub and rinse thoroughly.
Cleaning the Burner Holes
Cleaning the burner holes is a crucial step in maintaining a gas stove top burner’s efficiency. Over time, these small openings can become clogged with grease, food particles, and other debris, affecting the burner’s performance.
- Ensure the burner is cool: Before cleaning the burner holes, make sure the burner has completely cooled down to avoid any potential burns or injuries.
- Locate the burner holes: Take a close look at the burner heads and identify the small holes where the flames emerge. These are the burner holes that need to be cleaned.
- Use a toothbrush or small brush: Take a toothbrush or a small brush dedicated to cleaning and gently scrub the burner holes. Make sure to reach into each hole and dislodge any debris or clogs. If needed, you can dip the brush in warm, soapy water to enhance the cleaning process.
- Clear obstructions with a pin or needle: For stubborn debris or buildup that cannot be removed with a brush, you can carefully use a pin or needle to clear the holes. Be gentle and avoid damaging the burner holes or other components.
- Wipe away loosened dirt: Once you have scrubbed the burner holes, use a damp cloth or sponge to wipe away any loosened dirt or residue. Ensure that all debris is thoroughly removed.
- Dry the burner heads: After cleaning, allow the burner heads to air dry completely before reassembling them on the stove. This will prevent any moisture buildup.
Wiping Down the Stovetop Surface
Wiping down the stove top surface is an important part of the gas stove top burner cleaning process. It helps remove any spills, grease, or residue that may have accumulated during cooking, ensuring a clean and hygienic cooking environment.
- Allow the stove top to cool: Before cleaning the stove top surface, ensure that it has cooled down completely to avoid any burns or injuries.
- Remove loose debris: Using a dry cloth or paper towel, gently wipe away any loose debris, such as crumbs or food particles, from the stove top surface. Dispose of the debris properly.
- Prepare a cleaning solution: Fill a spray bottle with a mixture of equal parts water and white vinegar. Alternatively, you can use a mild kitchen cleaner or dish soap diluted with water. Shake the spray bottle to mix the solution.
- Spray and let it sit: Spray the cleaning solution onto the stove top surface, focusing on any areas with visible stains or spills. Allow the solution to sit for a few minutes. The vinegar or cleaning agents will help break down grease and grime.
- Wipe the surface: Using a soft cloth or sponge, gently wipe the stove top surface in a circular motion. Apply light pressure to remove stubborn stains or residue. For tougher stains, you can sprinkle baking soda on the cloth or sponge before wiping.
- Rinse and dry: Once you have wiped the stove top surface, dampen a clean cloth or sponge with plain water and rinse off any remaining cleaning solution. Finally, use a dry cloth or towel to thoroughly dry the stovetop surface.
Reassembling the Burner and Grates
After completing the cleaning process, it’s time to reassemble the burner and grates on your gas stove top. Follow these steps to reassemble the burner and grates:
- Ensure components are dry: Before reassembling, confirm that all the cleaned components, including the burner caps and grates, are completely dry. Moisture can affect the burner’s performance and potentially lead to rusting.
- Position the burner caps: Take the burner caps and align them correctly on top of the burner heads. They should fit snugly and cover the burner holes. Make sure they are properly aligned to allow for even flame distribution.
- Place the grates back: Carefully position the grates back onto the stove surface, ensuring they align with the burner caps. Place them securely and make sure they sit evenly on the stove.
- Double-check the positioning: Verify that the burner caps and grates are properly positioned and stable. Ensure that they fit securely without any wobbling or loose parts. This will prevent any accidents or disruptions during cooking.
- Test the burner: Once everything is reassembled, it’s a good idea to test the burner. Turn on the gas supply and ignite the burner to verify that it functions properly. Check for even flame distribution and any signs of malfunction.

Final Touches and Maintenance Tips
- Inspect and polish the surfaces: Take a moment to inspect the cleaned surfaces of your stove top. Polish any stainless steel or glass components using a suitable cleaner or microfiber cloth to restore their shine and enhance their appearance.
- Maintain regular cleaning habits: Incorporate regular cleaning habits into your routine to prevent excessive buildup and make future cleaning tasks easier. Wipe down the stovetop after each use, and perform a deep clean periodically to keep it in top condition.
- Avoid harsh cleaners and abrasive tools: When cleaning your gas stove top burner, avoid using harsh chemicals, bleach, ammonia, or abrasive tools that can damage the surface. Stick to mild cleaners and non-abrasive materials for the best results.
- Clean burner heads and ports periodically: While cleaning the burner caps and grates, inspect the burner heads and ports for any buildup or obstructions. If necessary, use a soft brush or toothbrush to clean the area around the burner ports to maintain proper gas flow.
- Check and replace damaged parts: Regularly check the condition of your burner caps, grates, and other components. If any parts are damaged, cracked, or heavily corroded, consider replacing them to ensure safe and efficient operation.
- Keep the area well-ventilated: Ensure proper ventilation in your kitchen while using the gas stove top. Adequate ventilation helps prevent the buildup of odors and allows any fumes or gases to dissipate, creating a safer cooking environment.
- Consult professional assistance if needed: If you encounter any issues or difficulties with your gas stove top burner that you are unsure how to address, it’s best to consult a professional for assistance or repair.
By implementing these final touches and maintenance tips, you’ll prolong the life of your gas stove top burner and maintain its cleanliness and functionality.
Conclusion
Cleaning a gas stove top burner may seem like a daunting task, but with the right tools and techniques, it can be done quickly and easily. By following the steps outlined in this article, you can ensure that your gas stove top burner is clean and free of any debris that may impact its performance or lifespan.
Remember to always exercise caution when working with gas appliances, and to consult a professional if you have any concerns about your stove or its maintenance.
