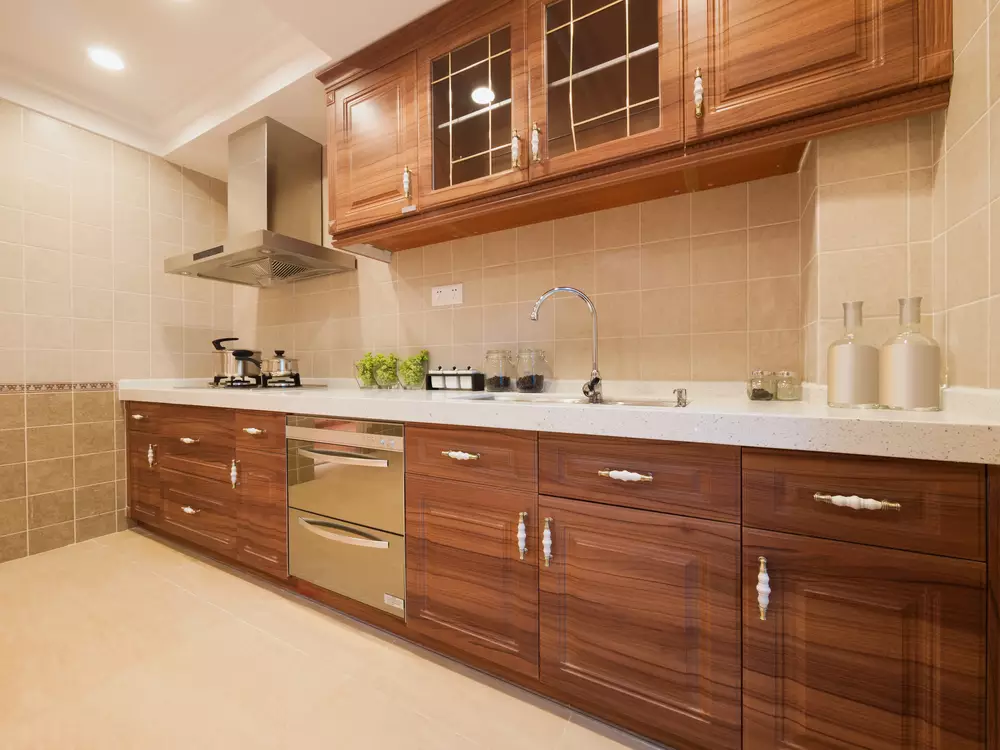
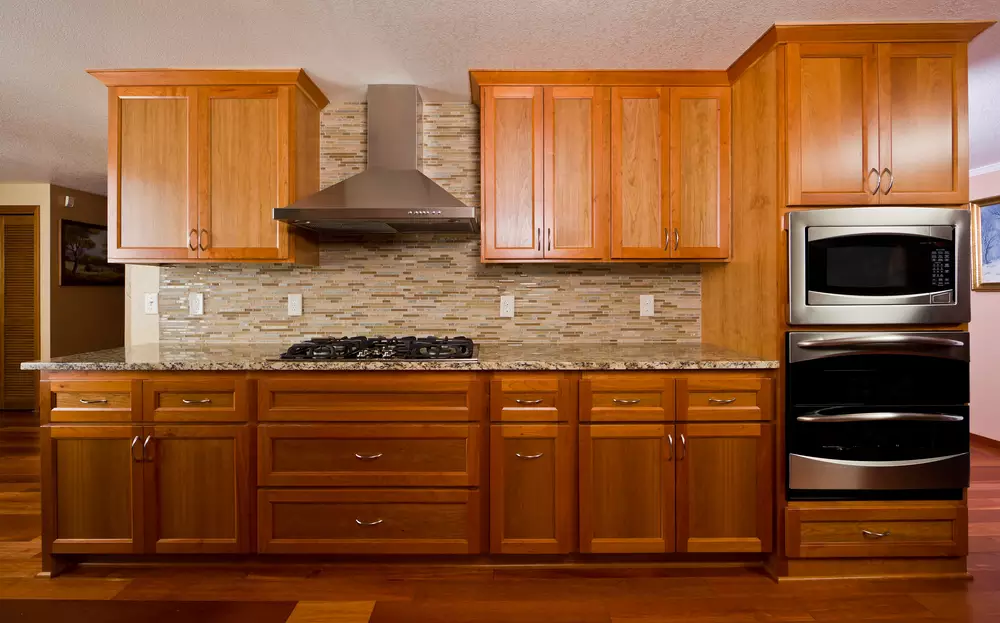
Keeping your wood kitchen cabinets clean and well-maintained is essential for maintaining their beauty and longevity. As the heart of your culinary haven, your kitchen cabinets endure daily exposure to grease, food particles, and moisture, making regular cleaning a crucial task. So, how to clean wood kitchen cabinets? Whether you’re a seasoned homemaker or a novice in the realm of cleaning, this comprehensive guide will walk you through the step-by-step process of achieving spotless wood kitchen cabinets.
From gentle cleaning solutions to clever tips and tricks, you’ll soon discover the secrets to restoring your cabinets’ natural luster and ensuring they remain a stunning focal point in your home for years to come.
How Often to Clean Wood Kitchen Cabinets?
The frequency of cleaning wood kitchen cabinets largely depends on the level of usage and the amount of dirt and grime they accumulate. As a general rule, it is recommended to clean wood kitchen cabinets at least once every few months. However, if your cabinets are subjected to heavy cooking or prone to spills and splatters, it may be necessary to clean them more frequently, such as once a month.
Regular maintenance and quick spot cleaning can help prevent the build-up of stubborn stains and grease, keeping your wood cabinets looking their best.

Step-by-Step Guide to Cleaning Wood Kitchen Cabinets
Gathering Supplies: Essential Tools and Materials
When it comes to cleaning wood kitchen cabinets, having the right tools and materials is crucial. Here are some essential supplies you’ll need to gather before getting started:
- White Vinegar
- Mild dish soap or specialized wood cleaner
- Vacuum with Crevice Tool
- Spray Bottle
- Liquid Dish Detergent
- Microfiber Cloths
- Multi-Purpose Cleaner
- Toothbrush (optional, for hard-to-reach areas)
Removing Surface Dust and Debris
To begin the process of cleaning your wood kitchen cabinets, it’s important to remove any surface dust and debris. This step helps prevent scratching and ensures a clean surface for further cleaning. Start by using a soft microfiber cloth or a feather duster to gently wipe away loose dust and particles from the cabinet surfaces.
Pay close attention to corners, edges, and crevices where dust tends to accumulate. For stubborn dust or hard-to-reach areas, you can use a soft-bristle brush or a vacuum cleaner with a brush attachment to carefully remove any lingering debris.
Preparing a Gentle Cleaning Solution
Here’s how you can create a simple yet effective cleaning solution:
- Start by filling a bucket or a container with warm water. Avoid using hot water as it can warp or damage the wood.
- Add a small amount of mild dish soap or a specialized wood cleaner to the warm water.
- Be sure to follow the manufacturer’s instructions for the recommended amount of cleaner to use.
- Gently stir the water to mix the soap or cleaner, creating a solution that is not too soapy or sudsy.
- If you prefer a natural cleaning solution, you can substitute the dish soap with a mixture of equal parts white vinegar and water. Vinegar is a mild acid that helps cut through grease and grime.
Cleaning the Exterior Surfaces
Start by preparing a cleaning solution by mixing warm water with a mild dish soap or a specialized wood cleaner. Avoid using harsh chemicals or abrasive cleaners, as they can damage the wood’s finish.
Dip a soft cloth or sponge into the cleaning solution and wring out any excess liquid. Begin wiping down the cabinet doors, drawer fronts, and cabinet frames, working in small sections at a time. Be sure to follow the direction of the wood grain to prevent any potential damage.
For stubborn stains or grime, you can use a slightly more concentrated solution or try a gentle scrubbing motion with a soft-bristle brush. However, be cautious not to scrub too vigorously, as it may remove the finish or scratch the wood.
After cleaning each section, rinse your cloth or sponge in clean water and wring out excess moisture. Wipe the surfaces again to remove any soapy residue. Finally, use a dry, clean cloth to wipe the cabinets dry, ensuring no water is left standing on the wood surface.
Tackling Stubborn Stains and Grease Buildup
Stubborn stains and grease buildup can be a common challenge when cleaning wood kitchen cabinets. However, with the right approach, you can effectively tackle these issues and restore the beauty of your cabinets. Here’s how to handle stubborn stains and grease buildup:
- Begin by applying a small amount of baking soda or a non-abrasive paste made of baking soda and water directly to the stained or greasy areas.
- Gently scrub the affected areas using a soft-bristle brush or a damp sponge. Be careful not to scrub too vigorously, as it may damage the wood surface.
- For particularly stubborn stains or grease, you can try using a mixture of equal parts vinegar and water. Apply this solution to the affected area and let it sit for a few minutes before gently scrubbing.
- Rinse the area with clean water and wipe it dry with a clean cloth or towel.
- If the stain or grease buildup persists, you can try using a specialized wood cleaner or a mild detergent specifically designed for removing tough stains. Follow the manufacturer’s instructions carefully and test the cleaner on a small, inconspicuous area first to ensure compatibility with your wood cabinets.
- For extremely stubborn stains or grease, you may need to consult a professional for specialized cleaning techniques or refinishing options.
Cleaning Cabinet Hardware
Cleaning the cabinet hardware is an important step in the overall cleaning process of your wood kitchen cabinets. Over time, hardware such as knobs, handles, and hinges can accumulate dirt, grime, and fingerprints. Here’s how you can effectively clean your cabinet hardware:
- Remove the hardware: Begin by detaching the hardware from the cabinets. You can do this by utilizing either a screwdriver or a drill to unscrew the knobs, handles, and hinges. Once you have successfully detached them, place them gently on a neat and smooth cloth or towel.
- Prepare a cleaning solution: Fill a small bowl or basin with warm water and add mild dish soap. Stir the solution gently to create a soapy mixture.
- Clean the hardware: Dip a soft cloth or sponge into the soapy water and wring out any excess liquid, or you can use a cloth or sponge to gently clean the hardware, paying attention to all sides and crevices. For stubborn dirt or grime, you can use a soft-bristle brush or an old toothbrush to scrub gently.
- Rinse and dry: Once the hardware is clean, rinse it thoroughly with clean water to remove any soap residue. Dry the hardware completely with a clean, dry cloth or towel. Ensure that no moisture is left behind, as it can lead to tarnishing or corrosion.
- Clean the screws and hinges: While the hardware is removed, take the opportunity to clean the screws and hinges as well. Wipe them down with a damp cloth or soak them in the soapy water briefly, then rinse and dry thoroughly.
- Reattach the hardware: Once the hardware and screws are completely dry, reattach them to the cabinets using the appropriate screws or fasteners. Make sure they are securely tightened.
Drying and Polishing the Cabinets
- Use a clean, dry cloth or towel: Start by using a clean, dry cloth or towel to gently wipe down the cabinet surfaces. This helps remove any remaining moisture from the cleaning process.
- Air drying: Allow the cabinets to air dry for a short period of time, ensuring that all excess moisture has evaporated. Open windows or turn on fans to facilitate faster drying.
- Apply a wood polish or conditioner: Once the cabinets are dry, you can apply a wood polish or conditioner to enhance their luster and protect the wood. Choose a product specifically designed for wood cabinets and follow the manufacturer’s instructions for application.
- Apply the polish with a soft cloth: Pour a small amount of the wood polish onto a soft cloth or directly onto the cabinet surface. Gently rub the polish onto the wood, following the direction of the grain. Take care not to apply too much polish or leave any excess on the surface.
- Buff the cabinets: After applying the wood polish, use a clean, dry cloth to buff the cabinets in circular motions. This helps distribute the polish evenly and brings out a beautiful shine.
- Repeat if necessary: If desired, you can repeat the process of applying wood polish and buffing for a more pronounced shine. However, be cautious not to over-polish, as it can lead to a buildup of product on the cabinets.
Additional Tips and Considerations
When cleaning and maintaining your wood kitchen cabinets, here are some additional tips and considerations to keep in mind:
- Regular maintenance: Incorporate regular maintenance into your cleaning routine. Wipe down the cabinets regularly to remove surface dust and prevent the buildup of dirt and grime.
- Follow manufacturer’s instructions: Different types of wood and finishes may have specific cleaning and maintenance requirements. Always refer to the manufacturer’s instructions or consult professionals for guidance if needed.
- Avoid excess moisture: When cleaning your cabinets, make sure to avoid excessive moisture. Excess water can seep into the wood and cause damage. Always wring out cloths or sponges well before wiping the cabinets, and promptly dry any spills or splatters.
- Test in inconspicuous areas: Before using any new cleaning product or technique, it’s wise to test it in a small, inconspicuous area of the cabinets. This will help ensure compatibility and prevent any potential damage or discoloration.
- Gentle cleaning: Always use gentle cleaning methods and avoid abrasive materials that can scratch or damage the wood surface. Soft cloths, brushes with soft bristles, and non-abrasive cleaning solutions are best for wood cabinets.
- Protect from heat and moisture: Protect your cabinets from excessive heat and moisture by using trivets or mats under hot pots and pans, and wiping up any spills immediately. This will help prevent warping, discoloration, or other damage caused by prolonged exposure to heat or moisture.
- Avoid harsh chemicals: Harsh chemicals, such as bleach or ammonia-based cleaners, can damage the wood and its finish. Stick to mild, wood-friendly cleaning solutions or natural alternatives.
By following these tips and considerations, you can maintain the beauty and longevity of your wood kitchen cabinets, keeping them looking stunning for years to come.
Conclusion
Cleaning and maintaining your wood kitchen cabinets is essential for maintaining their beauty and extending their duration. By following the proper cleaning ways, similar as removing surface dust and debris, using gentle cleaning results, diving stubborn stains and grease buildup, and properly drying and polishing the cabinets, you can keep them looking stylish.
Also, applying protective homestretches and applying regular conservation routines will help guard the cabinets against damage and ensure their life span.
