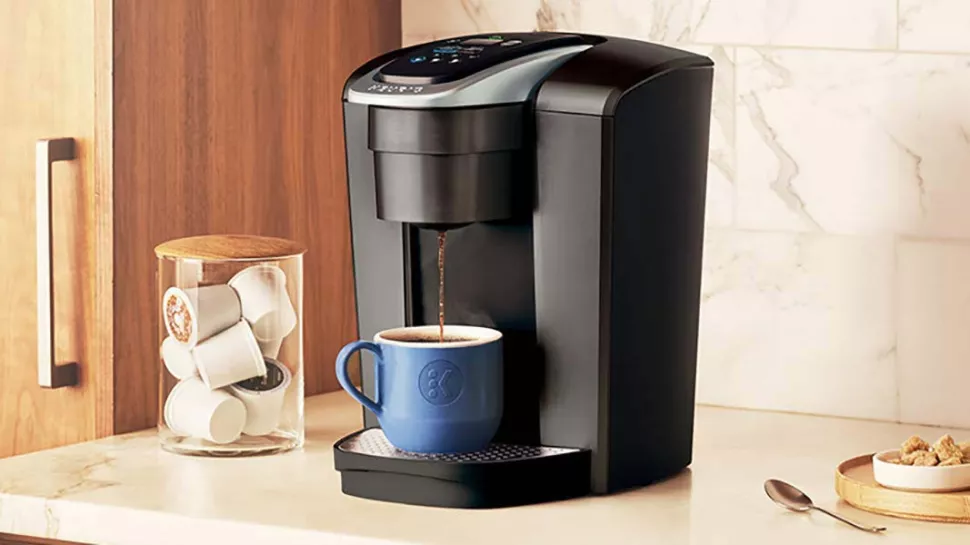
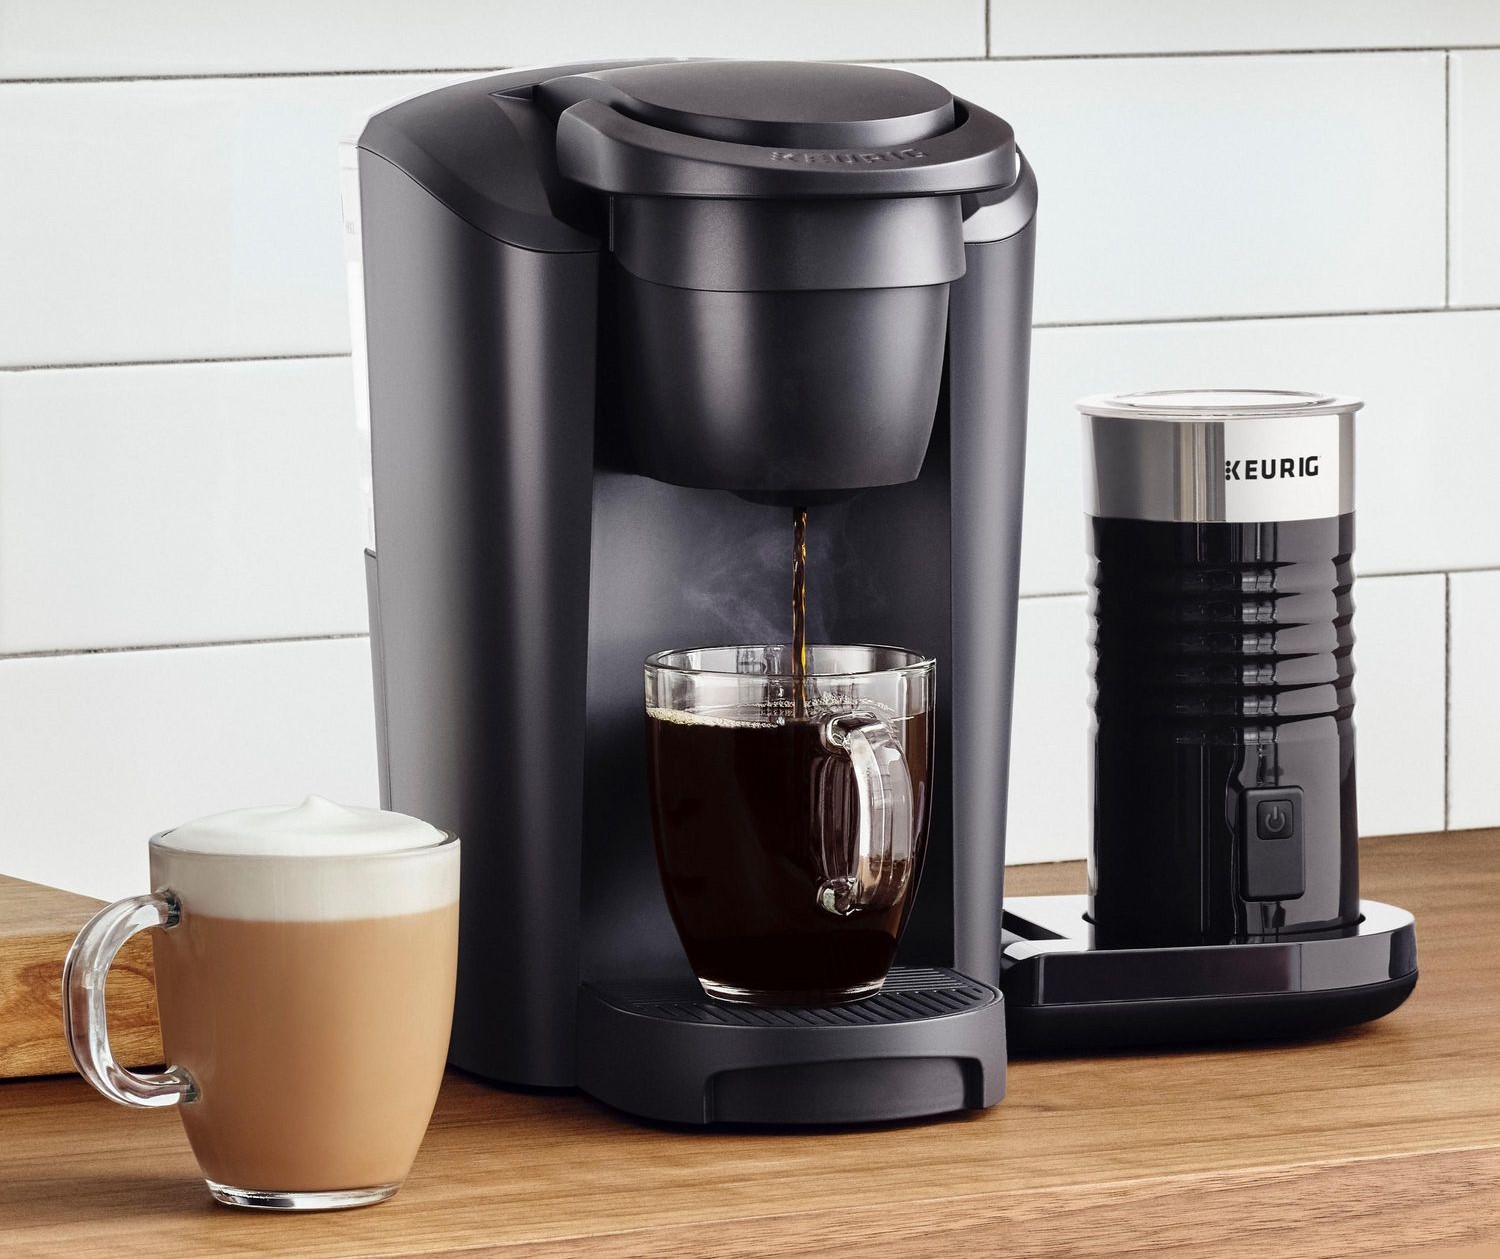
If you are a coffee lover, and you own a Keurig machine, you know how important it is to keep it clean and well-maintained. Over time, mineral deposits and other impurities can build up in your Keurig, leading to a decrease in performance and even potential health hazards. Did you know how to descale a Keurig and how to maintain it after descaling?
Descaling your Keurig regularly is essential to remove these impurities and ensure that your machine functions optimally. In this article, we will walk you through the step-by-step process of descaling your Keurig machine, so you can continue enjoying your favorite coffee flavors without any issues.
How is a Keurig different from a drip coffee maker?
A Keurig machine and a drip coffee maker are two different types of coffee brewing systems. Here are some ways in which they differ:
- Brewing method: A Keurig machine brews coffee by forcing hot water through a pre-packaged K-cup or pod containing ground coffee. In contrast, a drip coffee maker brews coffee by slowly dripping hot water over a bed of ground coffee.
- Customization: With a Keurig machine, you can easily brew a single cup of coffee with a variety of flavors and strengths. With a drip coffee maker, you can customize the strength and flavor of your coffee by adjusting the amount of coffee grounds and water used.
- Convenience: A Keurig machine is designed for convenience, as it allows you to brew a single cup of coffee quickly and easily. A drip coffee maker is better suited for brewing larger quantities of coffee for multiple people.
- Maintenance: A Keurig machine requires regular descaling to remove mineral deposits and other impurities that can build up in the internal components. A drip coffee maker requires regular cleaning to remove residual coffee oils and prevent clogs.
Overall, the main differences between a Keurig machine and a drip coffee maker are the brewing method, customization options, convenience, and maintenance requirements. Both systems have their unique advantages and disadvantages, and the choice between the two ultimately depends on your personal preferences and needs.

Importance of Descaling Your Keurig Machine
Descaling your Keurig machine is an essential maintenance task that should be performed regularly. Over time, mineral deposits, bacteria, and other impurities can build up in the internal components of your Keurig, leading to a decrease in performance and even potential health hazards.
Descaling your machine helps to remove these impurities, ensuring that your Keurig functions optimally and provides you with a fresh and clean cup of coffee every time. By neglecting to descale your Keurig machine, you run the risk of damaging the internal components and reducing the lifespan of your machine. Therefore, it is crucial to prioritize descaling as a part of your regular Keurig maintenance routine.
Signs Your Keurig Machine Needs Descaling
It is important to know the signs that indicate your Keurig machine needs to be descaled. Here are some common signs to look out for:
- Slow brewing: If your Keurig is taking longer than usual to brew a cup of coffee, it may be a sign that the machine needs descaling. Mineral buildup in the internal components of the machine can cause the water flow to slow down.
- Strange noises: If your Keurig is making unusual noises during the brewing process, it could be a sign that the machine needs to be descaled. Mineral deposits can cause the pump to work harder, leading to unusual noises.
- Off-tasting coffee: If you notice a change in the taste of your coffee, such as a metallic or bitter flavor, it could be a sign that your Keurig needs to be descaled. Mineral deposits and other impurities can affect the taste of your coffee.
- Clogged needles: If your Keurig’s needles become clogged, it may be a sign that the machine needs to be descaled. Mineral buildup can prevent the needles from puncturing the K-cups properly, causing clogs.
- Error messages: If your Keurig displays error messages, such as “prime” or “add water,” it could be a sign that the machine needs to be descaled. Mineral deposits can cause the sensors to malfunction, leading to error messages.
Important Materials for Descaling a Keurig Machine
Before you start descaling your Keurig machine, it is important to gather all the necessary materials. Here are the materials you will need:
- Descaling solution: You can purchase a descaling solution online or at your local home goods store. It is important to use a solution that is specifically designed for Keurig machines to avoid damaging the internal components.
- Water: You will need clean water to fill the water reservoir of your Keurig machine.
- A container: You will need a large container to collect the water and descaling solution as it passes through the machine.
- A mug: You will need a mug to catch the descaling solution as it is dispensed from the machine.
- A clean cloth: You will need a clean cloth to wipe down the exterior of your Keurig machine after descaling.
- Optional: If you prefer a natural descaling solution, you can use white vinegar instead of a commercial descaling solution. In this case, you will need white vinegar and water in a 1:1 ratio. You will also need to repeat the descaling process with clean water to remove any residual vinegar.
Step-by-Step Guide
Here is a step-by-step guide to descaling your Keurig machine:
- Prepare your machine: Turn off your Keurig machine and unplug it from the outlet. Remove any K-cups or pods from the machine and empty the water reservoir.
- Prepare the descaling solution: Follow the instructions on the descaling solution package to mix the solution with water in the ratio suggested by the manufacturer. If you are using white vinegar, mix equal parts of white vinegar and water.
- Fill the water reservoir: Pour the descaling solution into the water reservoir of your Keurig machine.
- Start the brewing cycle: Place a large container under the brew head and turn on the machine. Run a brew cycle without a K-cup or pod. Catch the descaling solution in the container.
- Repeat the brewing cycle: Repeat step 4 until the water reservoir is empty. Discard the collected solution in the container.
- Rinse the machine: Refill the water reservoir with clean water and run multiple brew cycles without a K-cup or pod until the water reservoir is empty. This step is important to remove any residual descaling solution.
- Clean the machine: Once the brewing cycle is complete, wipe down the exterior of the machine with a clean cloth.
- Restart the machine: Fill the water reservoir with clean water and run a final brew cycle to ensure that the machine is clean and ready to use.
Following these steps will help to descale your Keurig machine and ensure that it continues to function optimally. It is important to descale your Keurig machine regularly to maintain the quality of your coffee and extend the life of your machine.
Tips for Maintaining a Keurig Machine After Descaling
After descaling your Keurig machine, there are some tips you can follow to maintain it and ensure it continues to function optimally:
- Use filtered water: Using filtered water can help reduce mineral buildup in your Keurig machine and improve the quality of your coffee.
- Clean the machine regularly: Wipe down the exterior of your Keurig machine regularly with a damp cloth to remove any spills or stains. Also, clean the needle that punctures the K-cup or pod after every use to prevent clogs.
- Replace parts as needed: If you notice any signs of wear or damage on the internal components of your Keurig machine, such as the water filter or the brew head, replace them promptly to prevent further damage.
- Store the machine properly: When not in use, store your Keurig machine in a cool and dry place to prevent moisture buildup and avoid exposure to direct sunlight.
- Use high-quality K-cups or pods: Using high-quality K-cups or pods can improve the taste of your coffee and reduce the likelihood of clogs in your Keurig machine.
Frequently Asked Questions (FAQs)
How often should I descale my Keurig machine?
It is recommended to descale your Keurig machine every 3–6 months or when you notice a decrease in the quality of your coffee or a slower brewing time.
Can I use vinegar instead of a descaling solution?
Yes, you can use white vinegar as an alternative to a descaling solution. Mix equal parts of white vinegar and water, and follow the same descaling process as with a descaling solution.
Can I descale my Keurig machine without a descaling solution or vinegar?
No, it is not recommended to descale your Keurig machine with any other substances. Only use a descaling solution or vinegar to avoid damaging the internal components of the machine.
Is it safe to drink coffee after descaling?
Yes, it is safe to drink coffee after descaling your Keurig machine. Make sure to run multiple brew cycles with clean water after descaling to remove any residual descaling solution or vinegar.
Why is descaling important for my Keurig machine?
Descaling is important for your Keurig machine because it removes mineral buildup and other impurities that can clog the internal components of the machine and affect the taste and quality of your coffee. Descaling also helps to extend the life of your machine.
Final Words
Descaling your Keurig machine is an essential part of maintaining its performance and ensuring the quality of your coffee. Mineral buildup and other impurities can clog the internal components of your machine, affecting its efficiency and the taste of your coffee.
By following the step-by-step guide to descaling your Keurig machine and the tips for maintaining it afterward, you can help extend its lifespan and continue to brew delicious coffee for years to come. Remember to descale your machine every 3-6 months or as needed, and use only a descaling solution or vinegar for the process. By doing so, you can enjoy a great cup of coffee every time, and your Keurig machine will continue to serve you well.
