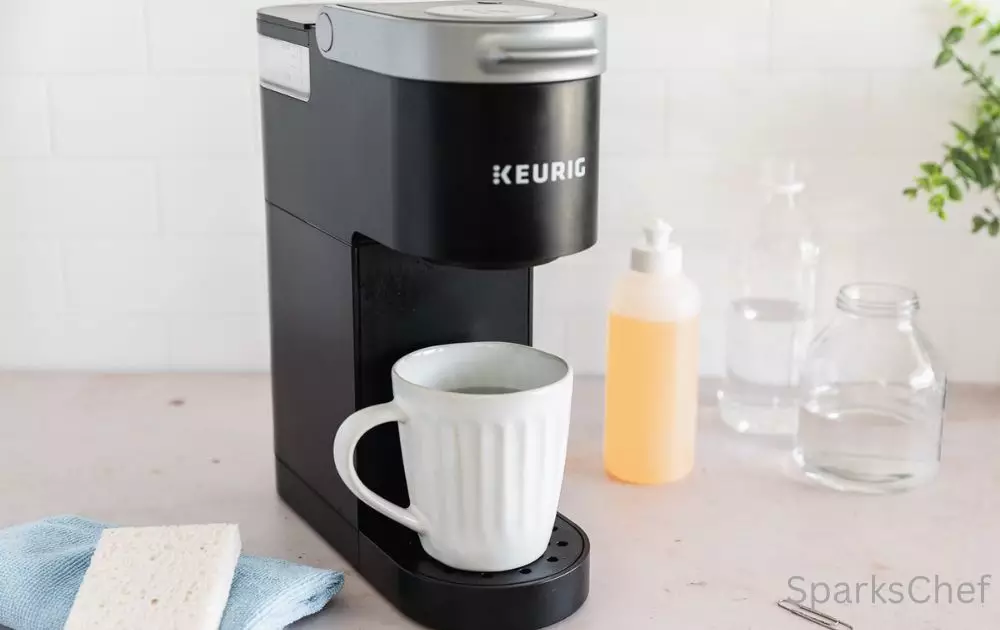
If you own a Keurig coffee maker, it may eventually require maintenance or repairs that require you to disassemble the machine. How to disassemble Keurig? While this may seem like a daunting task, it can be done with just a few tools and some basic knowledge.
By learning how to disassemble your Keurig, you can easily access the internal components and troubleshoot any issues that may be affecting your machine. In this guide, we’ll take you through the steps necessary to disassemble your Keurig and give you some tips on how to perform basic maintenance and repairs.
What you will need
- Paper clip
- Wet lint-free cloth
- Phillips screwdriver
- Narrow tail
- Drill the hole with a 3/16 or ¼ inch drill bit
- Hammer
- Phillips thin shaft long handle screwdriver
- Short handle screwdriver (any type)
- A small plastic bag, some pieces of paper, and a pen
Step 1: Prepare The Machine For Disassembly
Before disassembling your Keurig, make sure it is unplugged from the electrical outlet and all water and coffee pods have been removed. This is important for your safety and to avoid any potential damage to the machine.
Step 2: Make Sure You Need To Take Your Keurig Apart!
One of the most common problems people experience after using their Keurig for a while is slow coffee flow. If this is a problem, you may not need to take it apart. A buildup of coffee grounds around the needles that pierce the K-cup is often to blame.
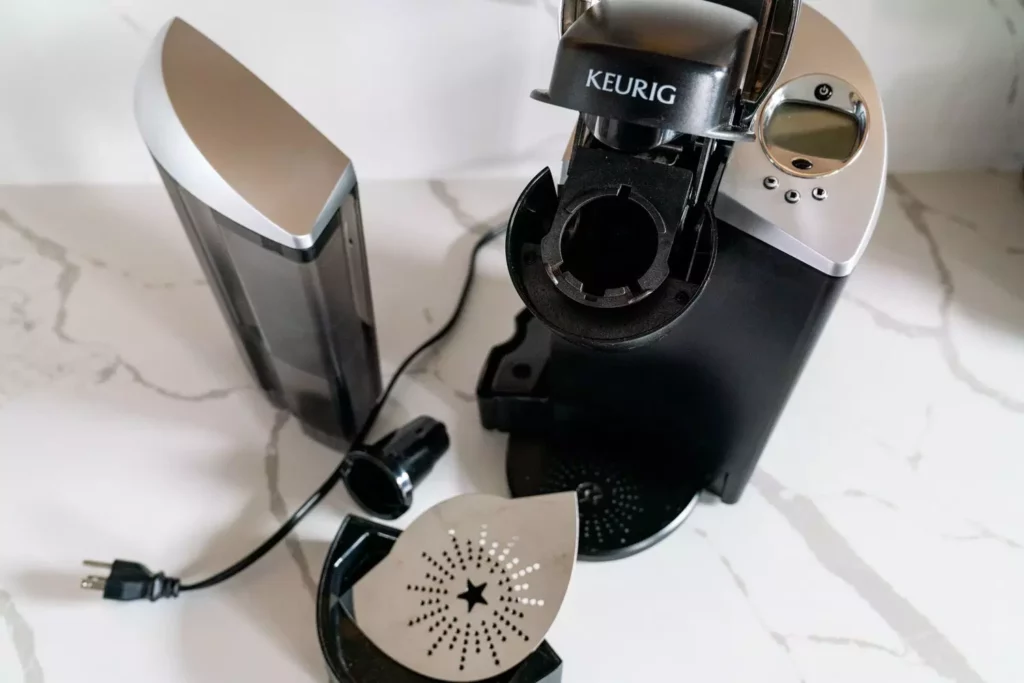
Check this by opening the K cup compartment. On the inside of the compartment lid, you will see a sharp needle with a rubber seal around it. Remove the seal – be careful about that as the needle is sharp!
Now straighten the paper clip. You will see that there are two holes behind the needle. Push a paper clip inside these holes to release any trapped debris. Now remove the plastic K cup holder. There is also a needle inside, so wipe it clean with a damp cloth.
Now separate the funnel (bottom) from the K-cup holder (top). Maybe you can separate them or if your version has holes on the sides, push a slotted screwdriver into them and push the halves apart with your thumb.
Turn the top and you will see another opening. Blow through it and then pierce it with that trusty paper clip. Put the two halves of the cup together again and return it to the Keurig. If clogging was the problem, these steps should fix it. Replace the tank and drip, and try plugging it in again. Now make the coffee to see if they succeeded.
Step 3: Remove The Base Plate
If the problem persists, you will need to unplug the machine again and remove the reservoir and drip tray again. Also, remove the K-cup holder, so you don’t risk it falling out and getting damaged while working.
Turn the Keurig on its side. You will see a series of screws holding the motherboard in place. Unscrew them with a Phillips screwdriver and set them aside. The motherboard will still be connected to the Keurig with ground wires. If you need to make serious repairs, you may need to cut these wires.
Step 4: Remove The Screws Holding The Plastic Collar
You will see four additional screws holding the plastic collar on the bottom of the Keurig in place. Two are in the front where the drip tray is located and the other two are in the back. Unscrew them and set them aside.
You will see a small metal clip that holds the silicone tube to the white plastic attachment. That attachment is the pump. Using pliers, loosen the clamp on the hose away from the pump.
Then gently pull the silicone “shoe” at the end of the tube off the pump with your fingers. At the bottom of the base, you’ll see the power cord cable held in a plastic groove. Slide it out of that groove.
Step 5: Remove The Tube Connecting The Reservoir To The Pump
The other end of the tubing you just disconnected from the pump goes into the water tank. You will see that it is held in place by two more screws. Unscrew them and set them aside.
Now move the pipe out of the way. You won’t be able to remove it completely because it will still be connected by the red and white wires. The LED itself is located inside the tube you just removed. If the lighting problem is with the LED rather than the wires, you will need to replace that part of the tube.
Step 6: Finish Removing The Base Plate
Use a drill to remove the rivet that secures the ground wire to the metal baseplate. (You need to replace it when reassembling. Use small screws on the outside of the plate and washers and rivets on the inside.)
You should now be able to completely remove both the baseplate and the bottom plastic collar.
Step 7: Remove The Screw Holding The Outer Plastic Case In Place
Now let’s get out the long-handle screwdriver. The handle should be long enough to reach inside the Keurig to remove the hidden screws that hold the entire plastic case in place.
Facing the machine with the coffee funnel in front, the screw is on the right. It’s a lot inside, so you might need a flashlight to find it. Unscrew and set aside. Hold the top of the Keurig with one hand and the bottom with the other.
Carefully separate the two pieces. You’ll start to see cracks, but they won’t go away completely. This is because there are 3 plastic clips to deal with.
Step 8: Remove The Plastic Clips
Open the top and bottom gaps as much as possible. Then insert a short-handled screwdriver into the slot as close as possible to the corner of the device. Press the target and release one of the plastic clips.
Two clips are located about an inch from the corners of the device. Watch this video to see those places. The third clamp is under the LCD screen. This is very fiddly, so be patient! Once you’ve separated the first clip, repeat the process with the other two.
Step 9: If The Clips Still Haven’t opened – Get Physical!
If you find that you just can’t release the clips, there is another way. This will almost certainly damage the clips, but the damage will not damage the operation of your Keurig. And it won’t be visible when you put it back together.
Turn the machine upside down and reach inside with a long-handled screwdriver to locate the clip. With the screwdriver pressed down, tap the handle of the screwdriver sharply with a hammer.
Step 10: Remove The Plastic Housing
You will now be able to remove the plastic cover. Just take one section in each hand and spread them apart. You will be able to see all the components inside the body of your machine.
You can also remove the handle and lid from the K cup compartment if needed. This great video shows you how.
Final Words
disassembling a Keurig coffee maker may seem like a daunting task, but with the right tools and knowledge, it can be done safely and efficiently. Before starting the disassembly process, it’s important to ensure that the machine is unplugged and that you have read the user manual thoroughly. Taking the Keurig apart step by step, cleaning each component carefully, and reassembling it can help to prolong the lifespan of your machine and ensure that it continues to produce high-quality coffee for years to come. By following the steps outlined in this guide and exercising caution, you can disassemble your Keurig coffee maker with ease.